“Definition of aperture in photography” is a regular question for all beginner or professional photographers. Every time they ask us a lot of questions about Aperture.
Photography is an art, no doubt about it. A significant part of this artistry lies in understanding camera settings. Of these, Aperture holds a central role. It is crucial to comprehend this concept to take your photography to the next level. In this article, I will describe all aspects of Aperture in photography.
Table of Contents
Definition of aperture
So, what is Aperture? Simply put, Aperture is an opening in your Camera’s lens. Through this opening, light travels into the camera body. The Camera’s diaphragm controls the size of this Aperture.
Understanding aperture size in photography
The size of the Aperture impacts the amount of light entering the lens. A more comprehensive aperture permits more light, while a smaller one lets in less light. Here, the term “f-stops” comes into play. F-stops are a method of defining the size of the Aperture. A key point to remember is this: lower f-stop numbers mean a wider aperture and higher numbers indicate a narrower one. It might seem counterintuitive, but that’s how it works!
large VS small aperture in photography
In the realm of photography, understanding the difference between large and small apertures is crucial. Large apertures, signified by lower f-stop numbers, let in more light. This results in a brighter image and a shallow depth of field. Consequently, it’s ideal for low-light situations or when you want to isolate your subject, creating a pleasing bokeh effect.
On the other hand, small apertures, represented by higher f-stop numbers, allow less light into the Camera. This yields a deeper depth of field, keeping more of the scene in focus. Therefore, it’s excellent for landscape photography, where you want to capture multiple particulars.

However, remember that choosing the right Aperture isn’t just about light and depth of field. It also affects the overall exposure of your image in tandem with shutter speed and ISO. Therefore, practice and experimentation with different aperture settings are vital to mastering this aspect of photography.
The choice between a large and small aperture depends on your desired effect. Whether it’s an intimate portrait or a sweeping landscape, the appropriate use of Aperture can elevate your photography to new heights.
Impact of Aperture on depth of field
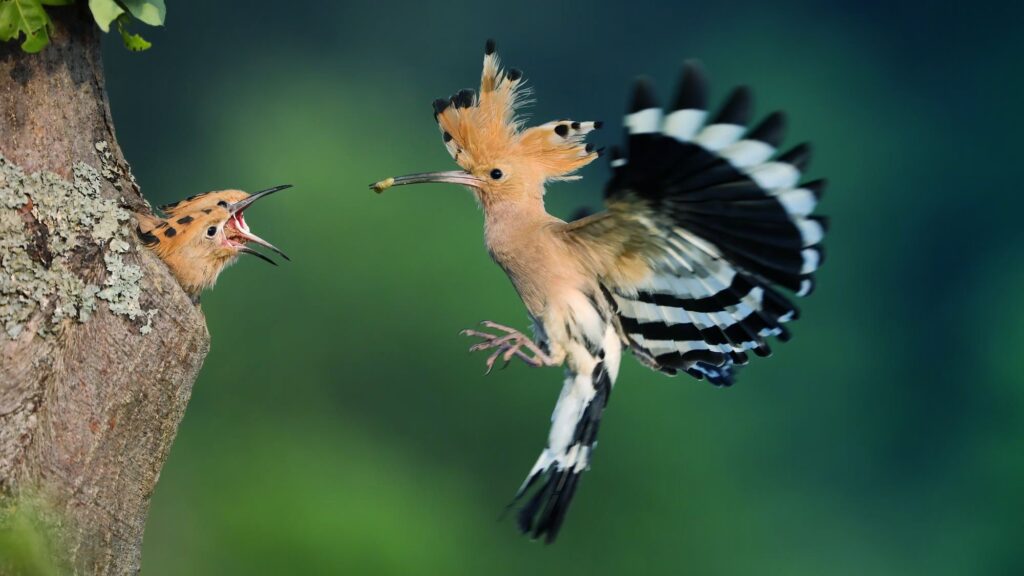
The aperture size also influences the depth of the field. Deepness of field refers to the dimensions of your shot that appear sharp. A smaller aperture (higher f-stop number) brings more of the scene into focus. On the other hand, a larger aperture (lower f-stop number) blurs the background, focusing attention on your subject. Different photographic styles use various depths of field. For instance, portrait photographers often choose a wide aperture to blur backgrounds and highlight their subjects.
Aperture and exposure in photography
Aperture doesn’t work alone. It’s part of the exposure triangle, including shutter speed and ISO. Together, these settings control the lightness or darkness of your photos. For instance, less light will enter if you choose a narrow aperture. You might need to slow your shutter speed or increase your ISO to compensate. Finding the right balance is essential to achieve correct exposure.
How to pick the right Aperture for photography?
Picking the right Aperture for your photography hinges on several factors. Firstly, consider the lighting conditions. In low-light situations, you’ll need a larger aperture (lower f-stop) to let in more light. Conversely, a smaller aperture (higher f-stop) in bright conditions will prevent overexposure.
Secondly, think about your desired depth of field. Do you want to isolate your subject with a blurred background? Then, go for a larger aperture. But a smaller aperture is your best bet if you aim to capture a detailed landscape with everything in focus.
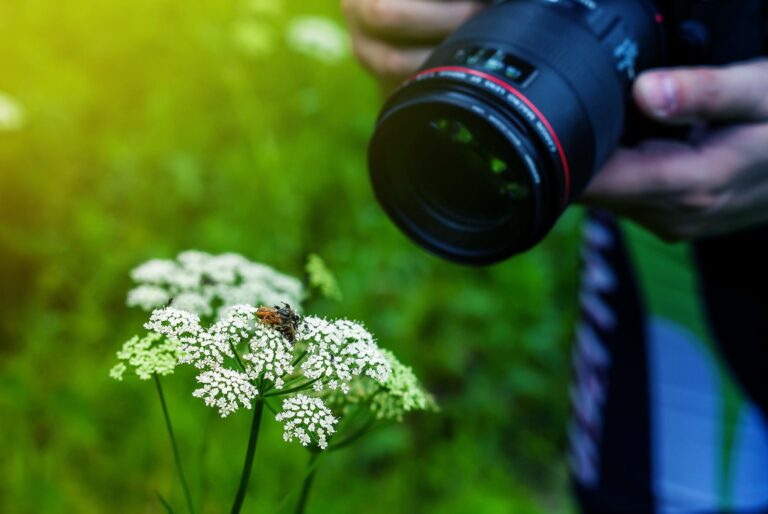
Next, consider the subject’s distance. A smaller aperture will yield better results if you’re shooting a distant subject. On the contrary, for close-up shots, like in macro photography, a larger aperture will help.
Additionally, keep in mind the ‘sweet spot’. Every lens has an aperture at which it performs optimally, often producing the sharpest images. Typically, it’s two to three stops from the widest Aperture. So, an f/2.8 lens will likely be sharpest at around f/5.6 or f/8.
Lastly, remember the role of the Aperture in exposure. Aperture, shutter speed, and ISO affect your image’s overall exposure. A change in Aperture might necessitate adjustments in shutter speed or ISO to maintain correct exposure.
At the end, there’s no one-size-fits-all answer for the perfect Aperture. It varies based on lighting conditions, desired depth of field, subject distance, the lens ‘sweet spot’, and overall exposure. You’ll learn to pick the right Aperture intuitively through practice and experimentation, enhancing your photographic prowess.
Creative use of Aperture in photography
Aperture isn’t just a technical aspect; it’s also a creative tool. By manipulating Aperture, you can dramatically alter the mood and feel of your photos. Take the same scene and shoot it at different apertures. You’ll notice how the depth of field transforms, creating various effects. Another creative use of Aperture is the bokeh effect. This is the pleasing or aesthetic quality of the out-of-focus blur in a photograph.
Examples of which Aperture to Use in photography
Let’s dive into examples of which Aperture to use in various photography scenarios. For portrait photography, a wide aperture, such as f/1.8 or f/2.8, works great. This allows more light, blurs the background, and puts the focus on your subject.
In contrast, you’ll need a smaller aperture for landscape photography, like f/11 or f/16. This ensures a greater depth of field, keeping the entire scene sharp and detailed. Similarly, architectural photography also benefits from a smaller aperture, capturing the intricate details of buildings.
Regarding wildlife or sports photography, the choice of Aperture can vary. A wider aperture could help increase the shutter speed if you’re capturing a fast-moving subject. Conversely, a smaller aperture might be better if you’re photographing a group of animals or athletes and want them all in focus.
Finally, a wide aperture is essential for low-light or night photography to gather as much light as possible. However, a change in Aperture can affect exposure, so balance it with the appropriate shutter speed and ISO settings. Ultimately, practice and experimentation will guide you in choosing the correct Aperture for every photographic situation.

Common Aperture Challenges and How to Overcome Them
Understanding the Aperture can be tricky. There are a few common hurdles that photographers face. One remembers the inverse relationship between f-stop numbers and aperture size. Practice makes perfect here. Another challenge lies in deciding the correct Aperture for a given situation. One tip is to consider your desired depth of field first. Do you want a sharply focused landscape or a softly blurred portrait? The answer will guide your choice of Aperture.
How to set the Aperture setting on your Camera?
Setting the Aperture on your Camera is a straightforward process, yet it’s critical for achieving the desired photographic results. Here’s how you can do it.
First, switch your Camera to Aperture Priority mode. This mode, typically denoted by ‘A’ or ‘Av’ on your Camera’s mode dial, allows you to control the Aperture while the Camera automatically adjusts the shutter speed for correct exposure.
Next, adjust the Aperture using the dial on your Camera. Remember, a lower f-stop number means a larger aperture, and a higher number indicates a smaller one. So, if you’re shooting a portrait and want a blurred background, you might choose an aperture like f/2.8. Conversely, for a landscape where you want everything in focus, go for a smaller aperture like f/16.

Once you’ve set the Aperture, check your Camera’s light meter. If it’s indicating overexposure or underexposure, adjust your ISO settings accordingly. This will help balance the exposure, ensuring your photo is light and bright.
Finally, take a test shot and review it on your Camera’s LCD screen. Check if the depth of field and exposure match your vision. If not, tweak the Aperture and ISO until you get it right.
Conclusion
Mastering Aperture is a game-changer in photography. It affects the amount of light, depth of field, and overall exposure of your images. It’s also a potent creative tool that can dramatically alter the mood and feel of your shots. Practice and experimentation are your best teachers. So, reach out there and begin experimenting with aperture settings!
Additional Resources
There are numerous resources available to delve deeper into Aperture and related photography concepts. Books, online courses, and tutorials are just a click away. Learning never ends in the pursuit of photographic excellence.”Deana Lawson: An Aperture Monograph ” is the best book to learn about the Aperture of photography. Click to buy
Frequently Asked Questions
A1: Aperture refers to the opening in a camera’s lens that allows light to enter. The Camera’s diaphragm controls the size of this opening, influencing the amount of light that reaches the camera sensor.
A2: The size of the Aperture affects the amount of light that penetrates the Camera and influences the depth of field. A larger aperture (lower f-stop number) allows better light and makes a more superficial depth of field, blurring the background. A smaller aperture (higher f-stop number) allows less light and produces a larger depth of field, keeping more of the scene in focus.
A3: The exposure triangle refers to the relationship between Aperture, shutter speed, and ISO in photography. These three settings work together to control your photos’ overall exposure or lightness/darkness. Adjusting one of these settings often requires compensating adjustments in the other two to maintain correct exposure.
A4: Aperture isn’t just a technical aspect; it’s a tool for creativity too. By manipulating Aperture, you can control the depth of field and create different effects in your photos. For example, a wide aperture can blur the background, directing focus to your subject. This is often used in portrait photography for a pleasing bokeh effect.
A5: One common challenge is remembering the inverse relationship between f-stop numbers and aperture size – lower f-stop numbers indicate a wider aperture and higher numbers are narrower. Practice and familiarization will help here. Another challenge is choosing the right Aperture for a given situation. Consider your desired depth of field first; whether you want a sharply focused landscape or a softly blurred portrait will guide your choice of Aperture.
A6: Numerous resources are available to delve deeper into Aperture and related photography concepts. Books, online courses, and tutorials offer a wealth of knowledge. Remember, practice and experimentation are crucial in developing your understanding and skill.
Share your comment with us

Finally, we encourage you to share your experiences. Have you faced challenges with aperture settings? Have you captured an image you’re proud of because you nailed the Aperture? We’d love to hear your stories. Let’s learn and grow together.


