If you’re an avid biker, you know how exhilarating it can be to hit the open road and explore new routes. Whether you’re riding for fitness, commuting, or just for fun, The sensation of wind rushing through your hair and the exhilaration of the ride are unmatched. Attaching an action camera to your bike helmet is an excellent option to capture these biking adventures to share with friends and family. In this article, we’ll explain how to attach an action camera to a bike helmet in six steps.
Table of Contents
Step 1: Choose the Right Mounting System :
Different types of mounting systems are available for action cameras, including adhesive, strap, and clip mounts. Your requirements determine the pros and cons of each. We recommend using a strap mount to attach an action camera to a bike helmet. This mount type is easy to install, can be adjusted for the best angle, and is more secure than adhesive or clip mounts.

Step 2: Prepare Your Helmet and Camera :
Before you attach the camera to your helmet, it’s vital to ensure that both are clean and debris-free. Before attaching the mount, clean the helmet with gentle soap and water, and allow it to dry completely. Also, remove any protective film or covers from the camera and fully charge the battery.
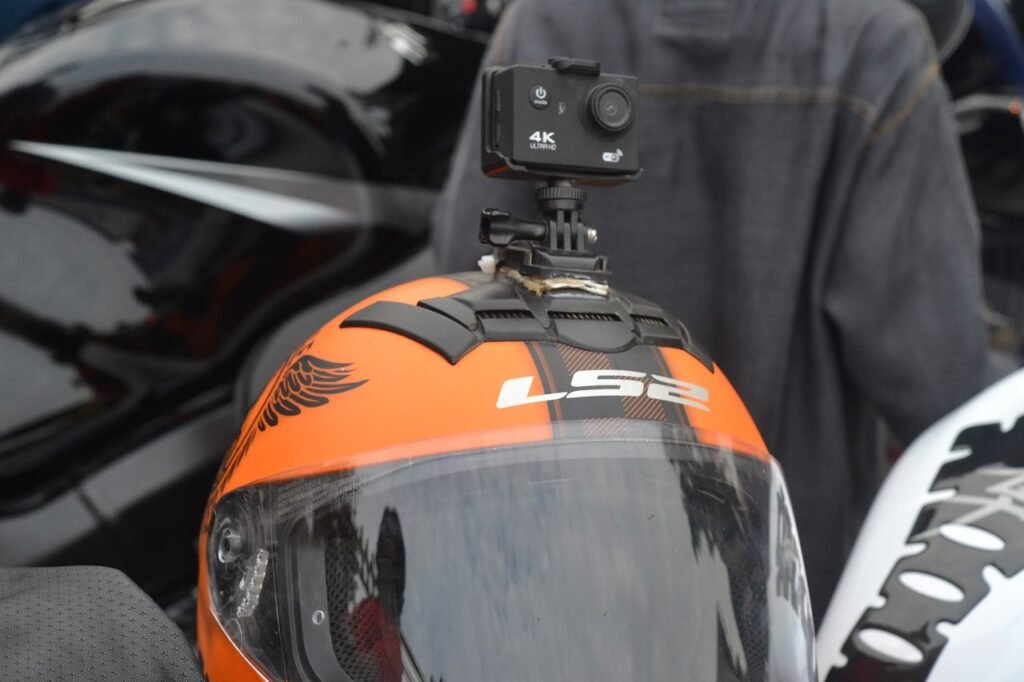
Step 3: Attach the Mounting System to the Helmet :
Attach the mount to the top of your helmet using the instructions with your strap mount. Make sure that the mountain is centered and aligned correctly on the helmet. Tighten the straps until the mounting is secure.
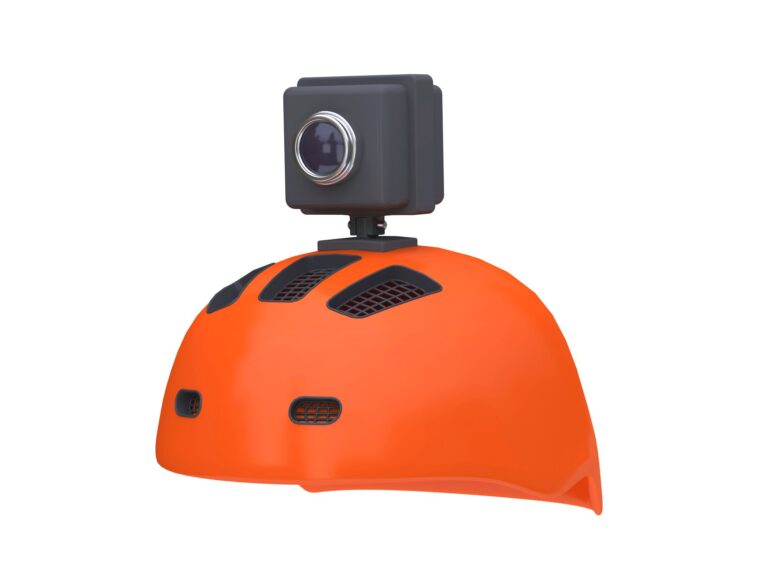
Step 4: Attach the Camera to the Mounting System :
Once the mount is securely attached to the helmet, you can attach the camera to the mount. Use the instructions with your camera to attach it to the mount. Ensure the camera is securely attached and properly aligned for the best recording experience.
Step 5: Test the Setup :
Before you hit the road, it’s important to test the camera setup to ensure it works properly. Turn on the camera and check the angle and settings to ensure everything is in order. Adjust the camera angle and settings to get the best recording experience.
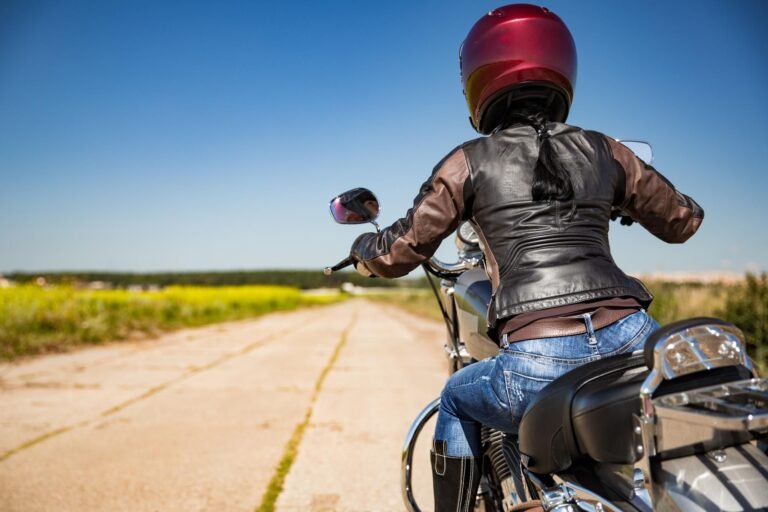
Step 6: Enjoy Your Ride :
With your action camera securely attached to your bike helmet, you’re ready to hit the road and capture all of your biking adventures. Whether riding for fitness, commuting, or fun, you can now share your experiences with friends and family.
Conclusion
Attaching an action camera to a bike helmet is a great way to capture and share your biking adventures. Following these six steps, you can securely attach your camera to your helmet and enjoy the ride’s thrill. So, get out there and explore new routes, and remember to bring your action camera along for the ride!
Frequently Asked Questions:
A helmet mount with a strong adhesive or a secure strap system is the most reliable option for attaching an action camera to a bike helmet.
Adjust the camera to point in the direction you want to capture and ensure it is secure and level on the helmet.
The two most common methods for attaching an action camera to a bike helmet are adhesive or strap mount. Adhesive mounts are typically more substantial and secure, while strap mounts offer more flexibility in placement.
Yes, it is safe to attach an action camera to a bike helmet as long as the mount is adequately secured and the camera is not too heavy or bulky. It’s essential to follow the manufacturer’s instructions for the camera and the mount to ensure proper installation.
Most modern bike helmets are compatible with action cameras. However, checking the helmet and camera specifications is important to ensure compatibility.
To ensure that your action camera is securely attached to your bike helmet, Follow the manufacturer’s instructions for the mount and ensure that you properly secure it. It’s also a good idea to test the camera before riding to ensure it is stable and not likely to fall off.


